Drywall plays a central role in most home renovation projects across Edmonton. It sits at a specific point in the construction sequence, following structural and mechanical work but preceding finishes, painting, and trim. Homeowners often find that understanding this timing helps prevent delays and keeps renovations moving smoothly, especially when planning around contractor availability and seasonal conditions.
Typical Renovation Sequence Leading Up to Drywall
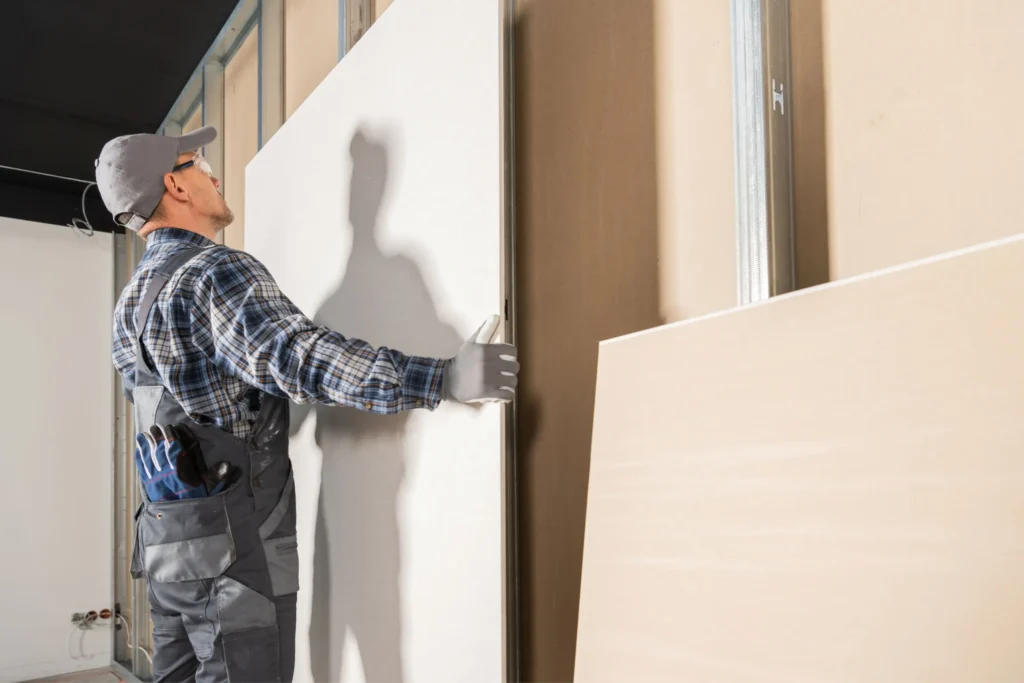
Drywall cannot be installed until several key steps are completed. A standard renovation involving wall construction usually follows this order:
• Demolition and removal of old finishes
• Framing adjustments or new framing for layout changes
• Rough in for electrical wiring, plumbing lines, and HVAC ducting
• Placement of insulation and vapor barrier
Homeowners frequently partner with companies that offer professional drywall services in Edmonton to coordinate this stage efficiently and ensure each trade hands off work at the right time.
Why Timing and Dependencies Matter
The work that comes before drywall has a direct impact on how drywall performs. If electrical wiring is not properly secured or plumbing routes are unfinished, drywall installers cannot proceed. Edmonton inspectors typically review framing, wiring, and insulation before giving approval to close the walls.
Clear sequencing prevents costly delays. If inspections reveal issues, fixes are easier before drywall is applied. Once drywall is up, access becomes limited, and any corrections require cutting and patching, which adds time and expense.
When to Schedule Drywall Installation
Drywall installation depends on coordination between multiple trades. Contractor schedules in Edmonton fill quickly, especially during spring and fall when renovation demand increases. Booking installers early helps avoid bottlenecks that stall the entire project.
Most projects require several stages of drywall finishing. After hanging the sheets, taping, mudding, and sanding occur over multiple days. Each coat needs proper drying time. Working with experienced Edmonton drywall services helps maintain consistent progress and ensures drying conditions are monitored.
Post-Drywall Steps: Finishing, Painting, Trim, and Final Touches
Once drywall installation is complete, the next phases include:
• Taping joints and applying multiple coats of compound
• Sanding the surface to achieve a smooth finish
• Priming and painting
• Installing trim, casings, and baseboards
Any delays in drywall drying affect these follow up tasks. Proper ventilation and stable temperatures help compounds cure evenly and reduce imperfections.
Seasonal Considerations for Edmonton Renovations
Edmonton’s climate impacts renovation timing. Cold winter temperatures can extend drying times if the home is not heated consistently. Joint compound cures best when humidity remains controlled, and sudden temperature swings can cause cracks or uneven finishes.
Spring and early summer often create higher demand for trades, which can affect scheduling. Renovations that involve exterior modifications may take longer if weather limits framing or insulation work.
Inspection, Curing, and Quality Control
Before drywall begins, inspectors verify that rough in work for wiring, plumbing, HVAC, insulation, and vapor barriers meets code. After drywall is installed, joint compound requires proper curing between coats. Adequate airflow prevents bubbling and helps achieve a smooth surface.
Quality checks include reviewing seam alignment, screw patterns, taped corners, and overall smoothness. Early correction ensures better paint results and fewer touch ups later.
Sample Renovation Timeline Chart
Small Project (Bathroom or Single Room):
Week 1: Demolition and framing
Week 2: Electrical and plumbing rough in
Week 2 to 3: Insulation and inspections
Week 3: Drywall hanging and finishing
Week 4: Painting and trim
Medium Project (Multiple Rooms):
Weeks 1 to 2: Demolition and framing
Weeks 2 to 3: Mechanical rough ins
Week 3: Insulation and inspection
Weeks 3 to 4: Drywall and finishing
Weeks 4 to 5: Paint, trim, and fixtures
Large Project or Whole Home Renovation:
Weeks 1 to 4: Structural work and framing
Weeks 4 to 6: Electrical, plumbing, and HVAC rough in
Week 6: Insulation and inspection
Weeks 6 to 8: Drywall installation and finishing
Weeks 8 to 10: Painting, trim, and final details
Timelines vary based on contractor availability, project scope, and seasonal conditions.
How to Choose the Right Drywall Contractor in Edmonton
Choosing a contractor with clear communication and reliable scheduling helps maintain momentum throughout the renovation. Homeowners can evaluate reputation, experience, and consistency of workmanship before moving forward.
For projects that need dependable timing, you can contact Allstar Walls to arrange drywall installation or request guidance on how this stage fits into your overall renovation plan.